Are you looking for a sleek and minimal design progress bar in Photoshop for your website or app? With its powerful editing tools and customizability, creating a progress bar in Photoshop that fits seamlessly into your design has never been easier. In this article, we’ll walk you through the steps to create a minimal progress bar in Photoshop.
In this tutorial, I`m going to show you how to create a clean and minimal progress/loading bar in Photoshop. I`m sure you`ve seen a lot of progress bars but did you asked yourself how to create one? Now you`ll know. Along the way, we`ll use different tools, create layers and apply multiple layer styles in order to obtain a great progress bar just ready to be coded. Using a Progress Bar in your Application is a good way to interact with your users. Creating this from scratch is really easy, the good part is you can change the colors, designs, and layout according to your needs.
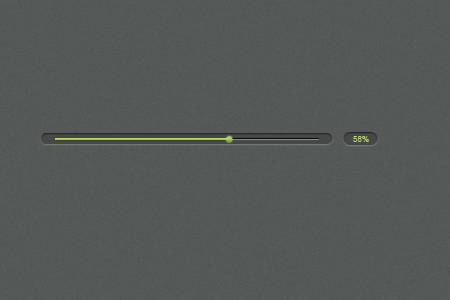
Minimal Progress Bar in Photoshop
Designing a progress bar in Photoshop may seem like a daunting task, but with the right techniques, you can create a sleek and minimalist design that will enhance your user’s experience. The progress bar is an essential element in any software or application that displays the status of an ongoing process. It serves as a visual indicator, informing users about how much time is remaining for the completion of their tasks.
Progress Bar
The Tutorial
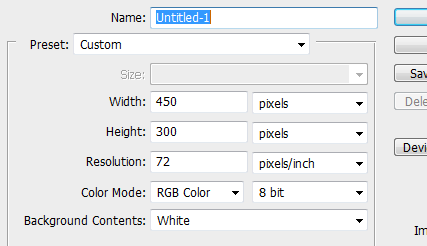
Open your Photoshop and create a new canvas, width is 450px height is 300px. Now name this layer as index, fill it with color #565a59. Select Filter > Noise > Add Noise and set it up to 1%.
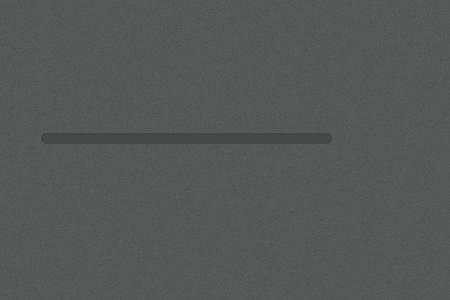
Grab your Rounded Rectangle Tool (M) and set your Radius to 50px, draw a simple shape like the one above and name it body. Fill it with color #454847.
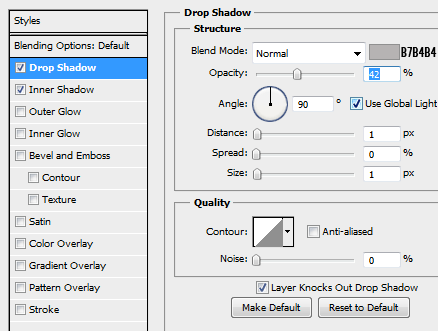
Right Click the body layer and select Drop Shadows, follow the settings above and use the color #B7B4B4.
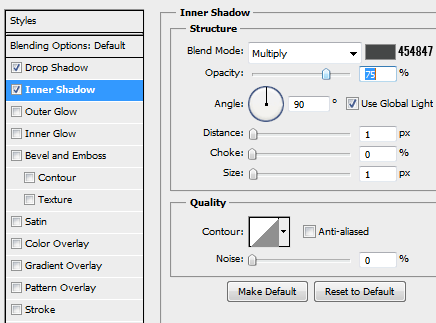
Moving on to Inner Shadow, just change the Distance and Size, color #454847.
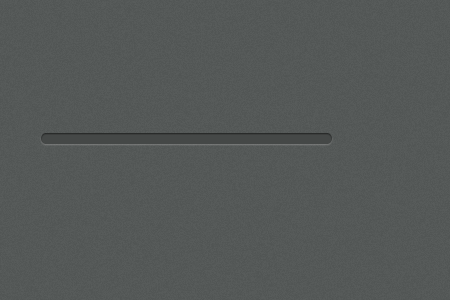
You should have the same result as above, now we will create the progress bar itself.

Now, set your Foreground Color to #030303, using your Single Marquee Tool (M) draw a line and fill it with the said color.

Repeat the step above, only change the color to #8c8e8d and make sure that the dark line is on top and the lighter line in the bottom.
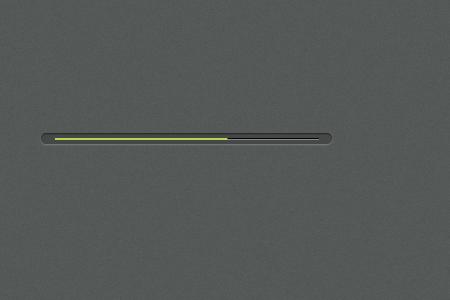
Create a new layer (name it progress bar) and select your Pen tool and draw a line (nearly half of the dark line) and right-click > fill stroke, set to 2px and use this color #b3d754.
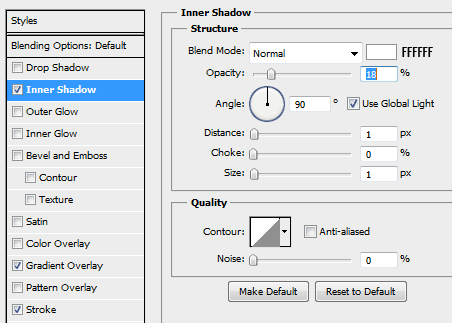
In the progress bar layer, select Blending Options and set your Inner Shadow’s settings like the one above.
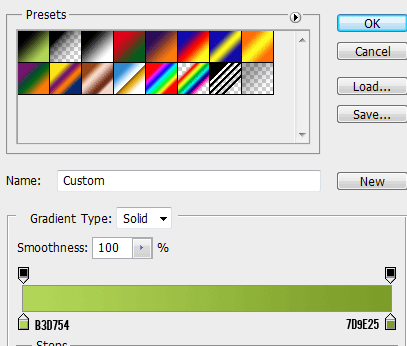
In Gradient, use this color.
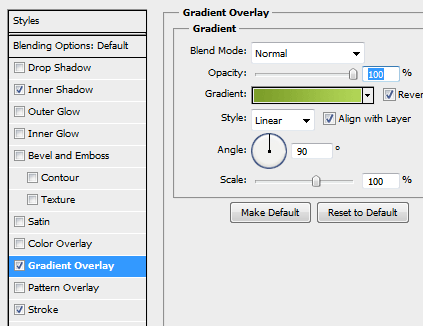
Here is the Gradient Settings, set your angle to 90 and that’s it for the progress bar details.
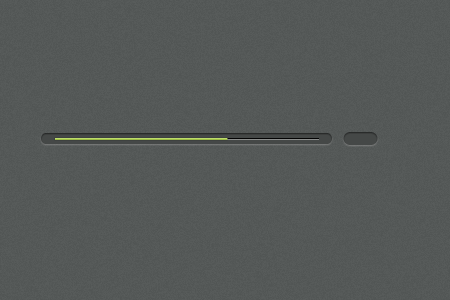
Next is the number percentage, repeat the steps on creating the body layer. Make sure that the height is the same with the original layer. Or I can show you a cool tip! Just grab Rounded Rectangle Tool (M) and draw the shape like the one above and select body layer > right-click > copy layer style and go to the new number layer shape > right-click > paste layer style.
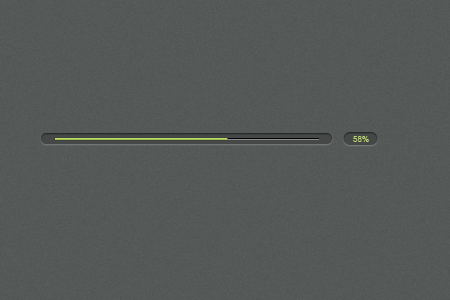
To create the text, set the Foreground Color to #b3d754 and Arial font 8pt.
Source: Sanjay
In conclusion, designing a minimal progress bar in Photoshop using vector shapes is a great way to create a modern, eye-catching design. It’s simple enough for anyone to learn and can be used for a variety of projects. With the help of this article, you should now have all the knowledge and skills necessary to design your own minimal progress bar. Don’t forget to experiment with different color schemes and backgrounds to make your project truly unique!