If you’re looking to create a stylish blue VCard layout in Photoshop, then you’ve come to the right place. Whether you’re a freelancer or business owner, having a well-designed VCard can make all the difference when it comes to making an impression on potential clients and customers. With Photoshop, it’s easier than ever to craft a professional-looking VCard that reflects your brand’s unique style.
Promoting yourself on the internet, which is the biggest place where you can do it, is a great idea. Actually, is a must if you`re working on the internet as a freelancer, for example. There are many ways to do it, through personal websites, portfolios, online CV and virtual cards or vCards. I decided to design a nice and clean vCard in Photoshop and I`m going to explain you step by step what you need to know to build your own vCard.
VCard is a digital business card that contains all the necessary information about an individual, such as their name, contact details, and other relevant information. It serves as a modern replacement for traditional paper business cards. With the help of Photoshop, it is possible to create an attractive VCard layout that reflects your brand and personality.
Design VCard Layout In Photoshop
To design a professional-looking VCard layout in Photoshop, you need to start by selecting the appropriate layout and color scheme. A minimalist design with simple colors such as black, white, or grey works well for most professionals. You can add a splash of color or texture to make it stand out from the crowd.
Step 1
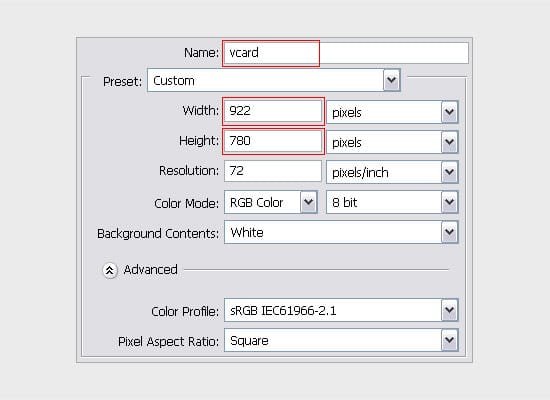
Create a new file, and name it “vcard”. Give the width : 922px and height : 780px
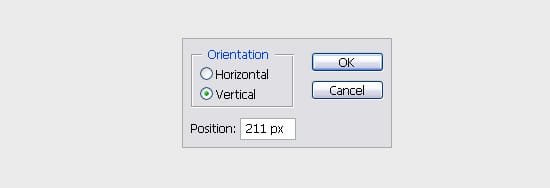
Now, let’s we make a layout with a width 500px, the first step is create a guides, open View > New Guide, in the box that pops open select vertical and enter 211px.
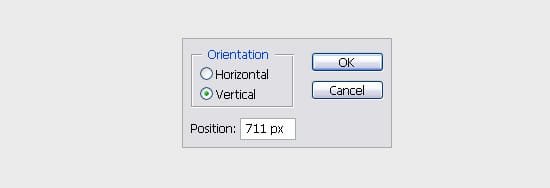
Then go to View > New Guide, in the box that pops open select vertical and enter 711px.
Step 2
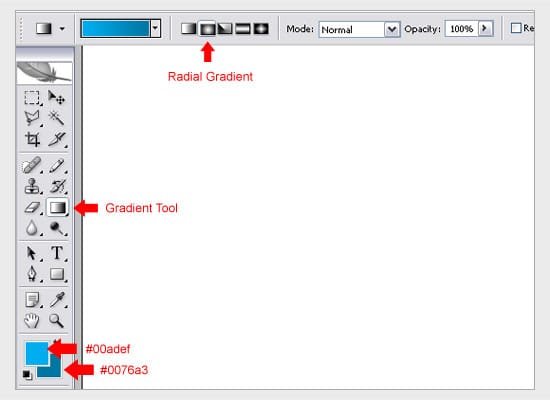
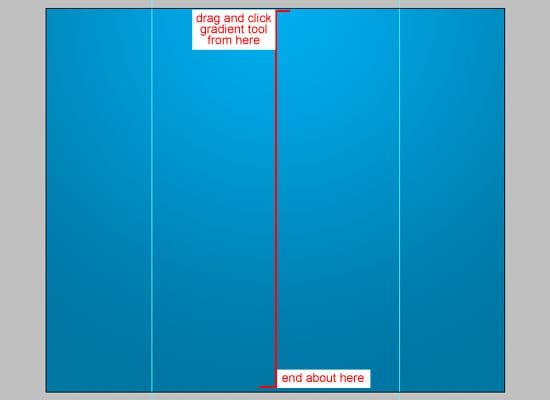
Apply the gradient to your “background” layer. When applying the gradient start from the top-middle of the canvas and drag half way down, this should give us a nice sized effect. If you hold down the Shift key while dragging the gradient down it will lock the gradient line vertically.
Step 3
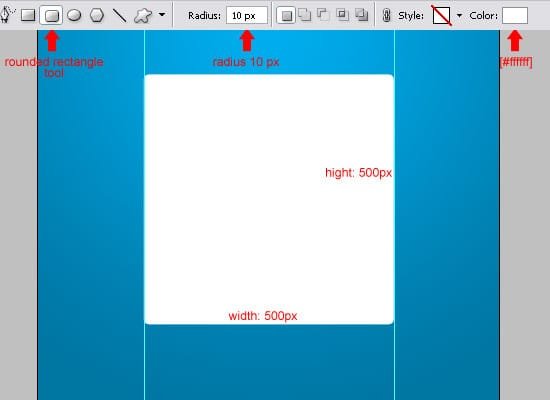
Next is to make the object box, using the rounded rectangle tool, Width: 500px, Height: 500px, Radius: 10px, dan Color: white (#ffffff)
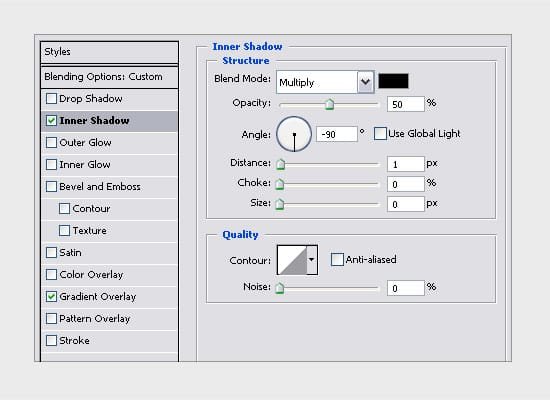
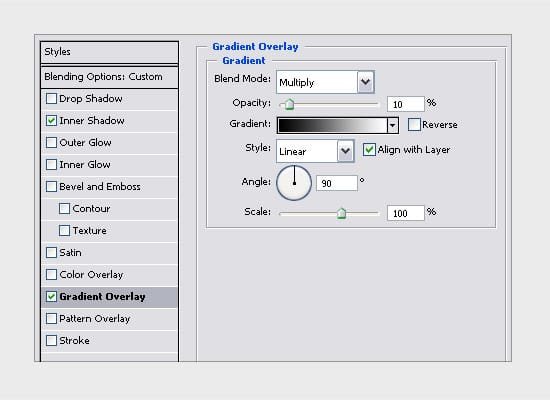
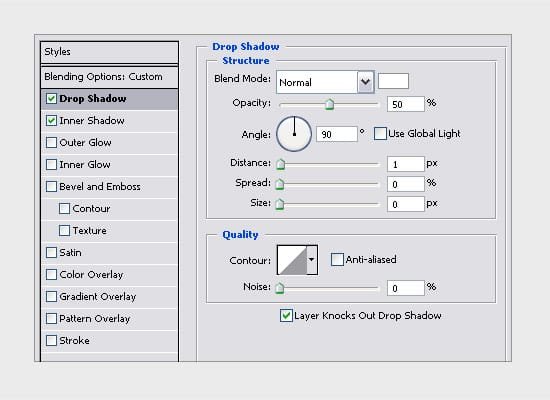
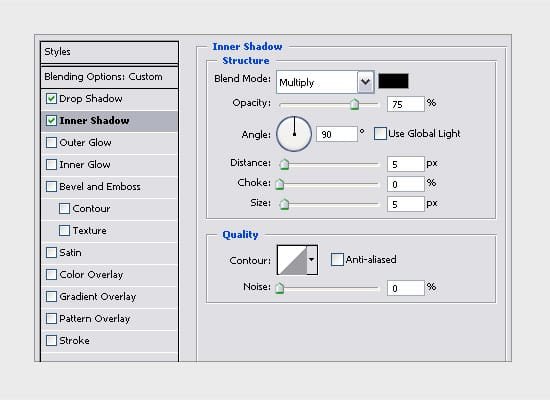
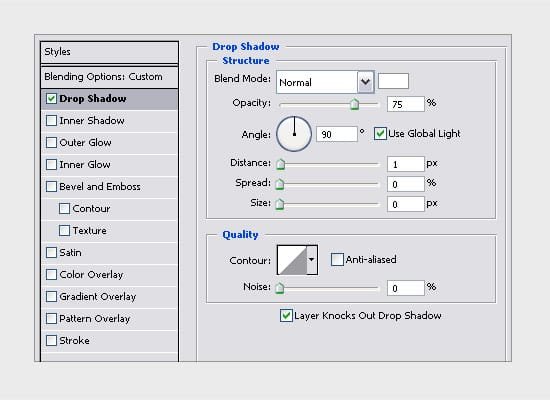
Now add these layer styles, change the Fill of Opacity to 20%, add Drop Shadow, Inner Shadow, and Gradient Overlay

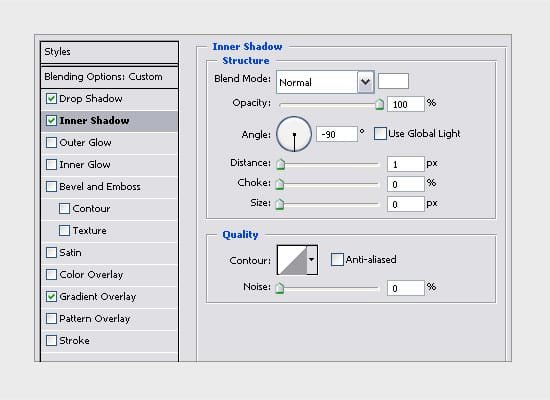
Then edit Gradient on Gradient Overlay

Step 4
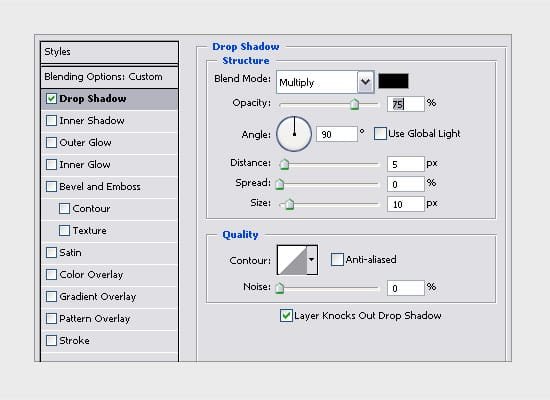
The next step, duplicate the rectangle layer using [ ctrl ]+[ j ] or choose menu layer > Duplicate Layer, then send backward layer using [ ctrl ]+[ [ ]. Next, sliding down the object.

Change the fill of Opacity to 20%, and edit the layer style.
Step 5
Again, duplicate the rectangle layer using [ ctrl ]+[ j ] or choose menu layer > Duplicate Layer, then send backward layer using [ ctrl ]+[ [ ]. Then change Fill Opacity to 0%, and edit layer style.
Step 6
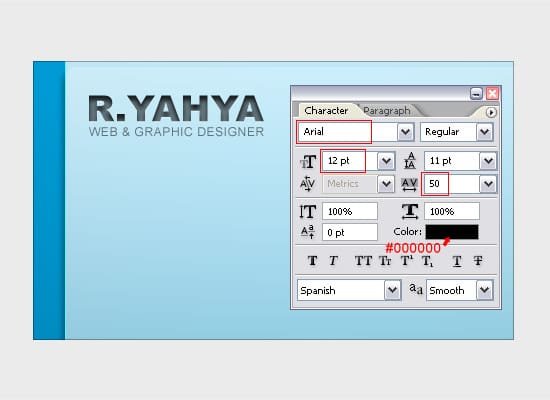
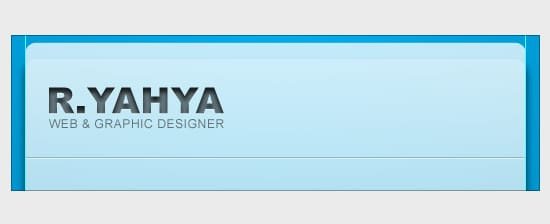
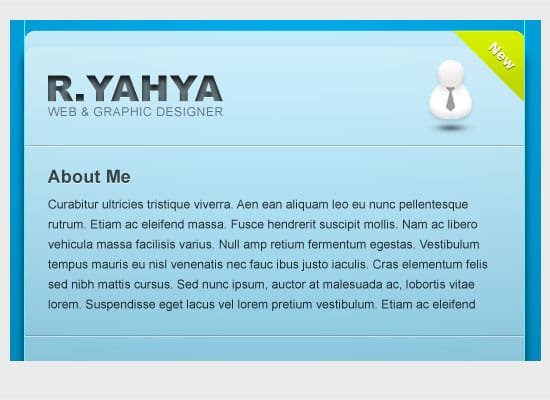
Now we’ll make the header, the first step is add your name at this header
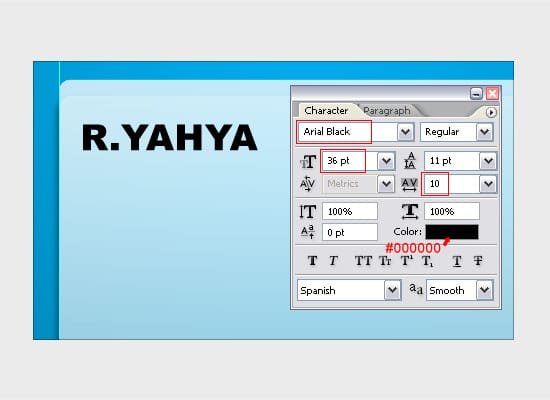
Change the Fill of opacity to 50%, and edit the layer style.
Then, please add a little description about us.
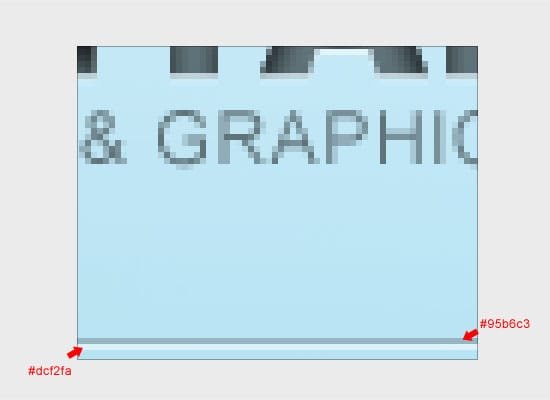
Creat two lines below the title (your name) with a height 1px, for the first line give the color: #95b6c3 dan the second line color: #dcf2fa.
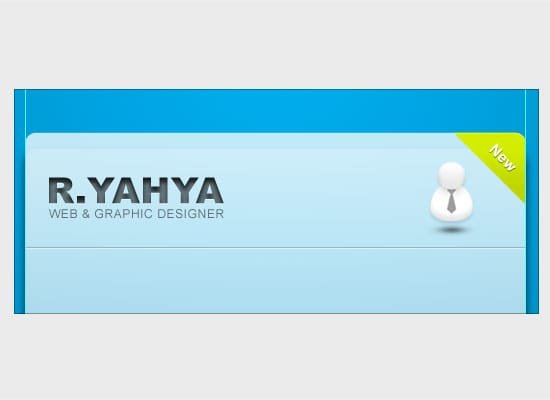
Then we add the logo and label to the righ side.
Step 7
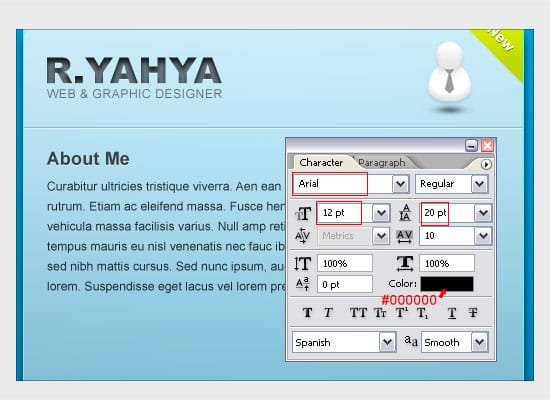
Now we add some heading text “About Me”.
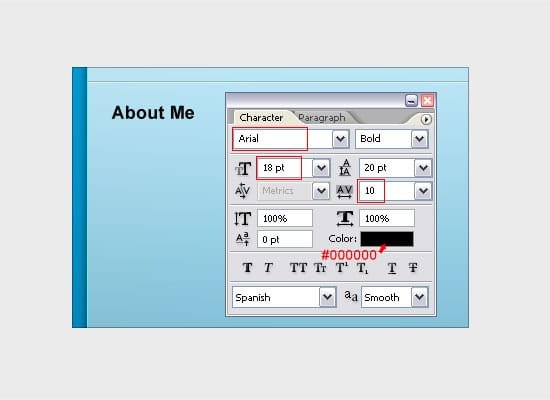
Then change the Fill of Opacity to 70%, and edit the layer style
Next please add some text below the heading “About Me”
And create a dividing lines, like that we created on step 6
Step 8
Create some heading text again, below the lines with same style as on step 7
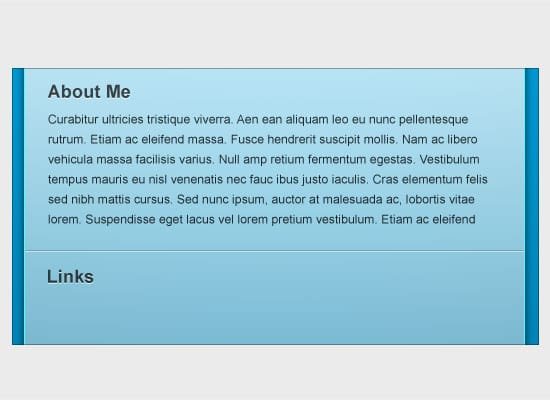
Give some text below the heading “Links”, change the Fill of Opacity to 80%

Give the dividing lines
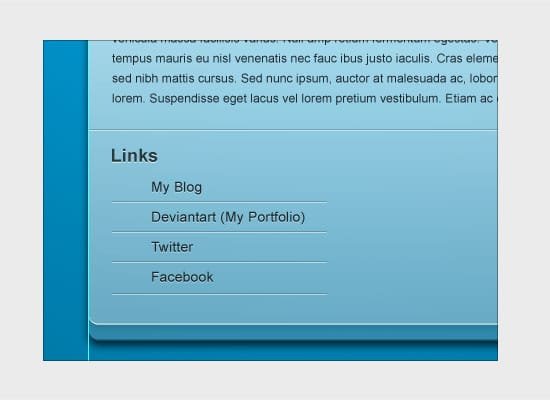
And add the icon like teh picture below

Step 9
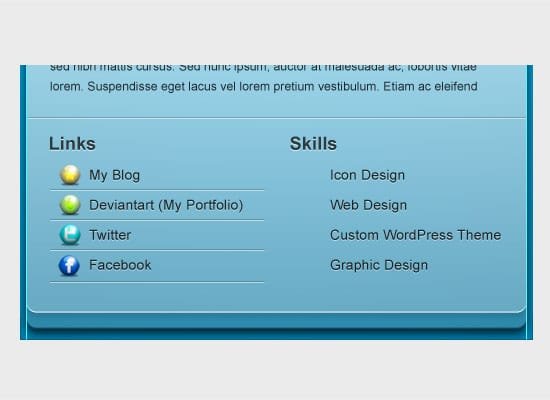
Again let’s create some heading “Skills” text with the same style as on step 7
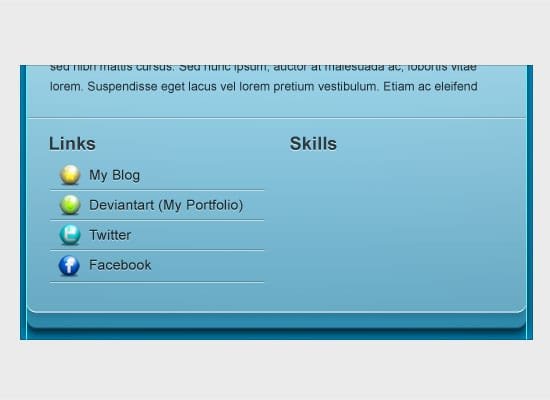
Then add some text, change the Fill of Opacity to 80%
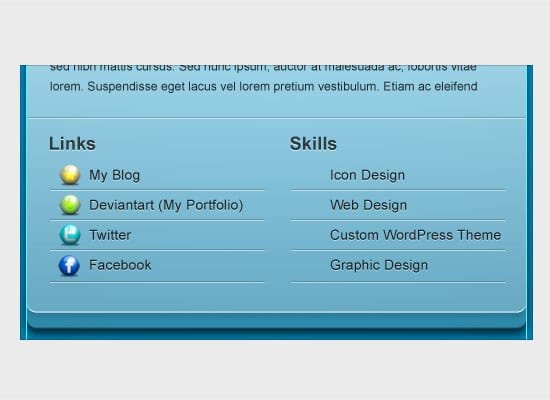
Give the dividing lines
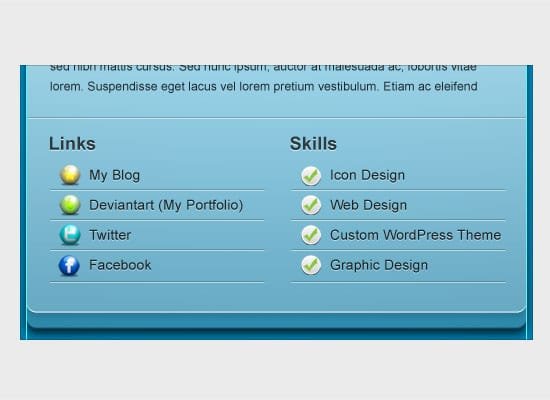
And add the icon like the picture below
Step 10
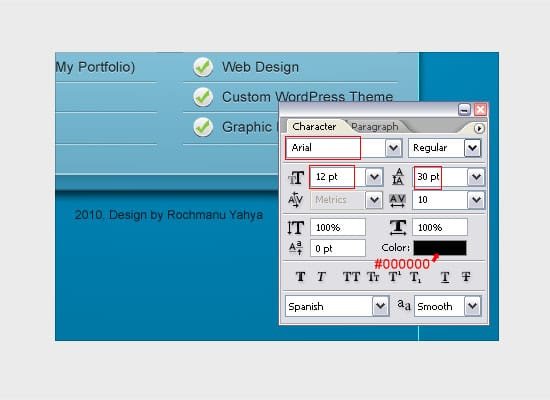
Finally, for the last step is create a footer. We’ll add some text and change the Fill of Opacity to 80%
Conclusion
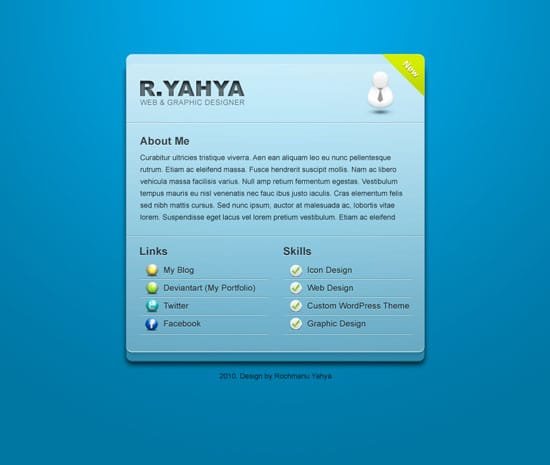
There we have it! Hopefully, you should have something like this: