Creating a sleek audio player interface in Photoshop is an excellent way to showcase your design skills. With the right tools and techniques, you can create a visually appealing and user-friendly interface that will impress anyone who uses it. In this tutorial, we’ll show you how to create a sleek audio player interface in Photoshop using some of the latest design trends.
To start, you’ll need to set up your workspace by creating a new document with the dimensions of your choice. Next, select your background color and add any textures or gradients that you want to use. Once you’ve set up your background, it’s time to start designing the actual interface. Begin by adding buttons for play/pause, skip forward/backward, volume control, and other essential functions.
Now comes the fun part – designing the visual elements of your audio player interface!
Create a Sleek Audio Player Interface in Photoshop
In this tutorial you’ll learn how to design a sleek audio player interface in Adobe Photoshop.
Step 1
Create a new document 600×400 px big.
Step 2
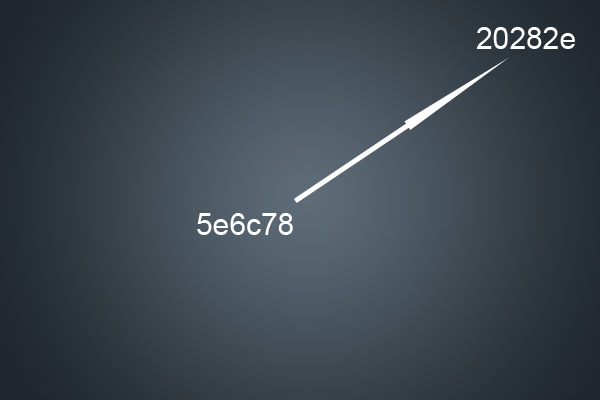
Using the radial gradient tool from #5e6c78 to #20282e, fill the background.
Step 3

Duplicate background and go to Filter-Noise-Add Noise. Use these settings: Amount:5%; Uniform; Monochromatic. Click Ok. Now lower the layer opacity to 30%. You should now have something like this.
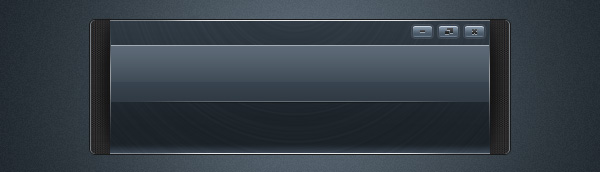
Step 4
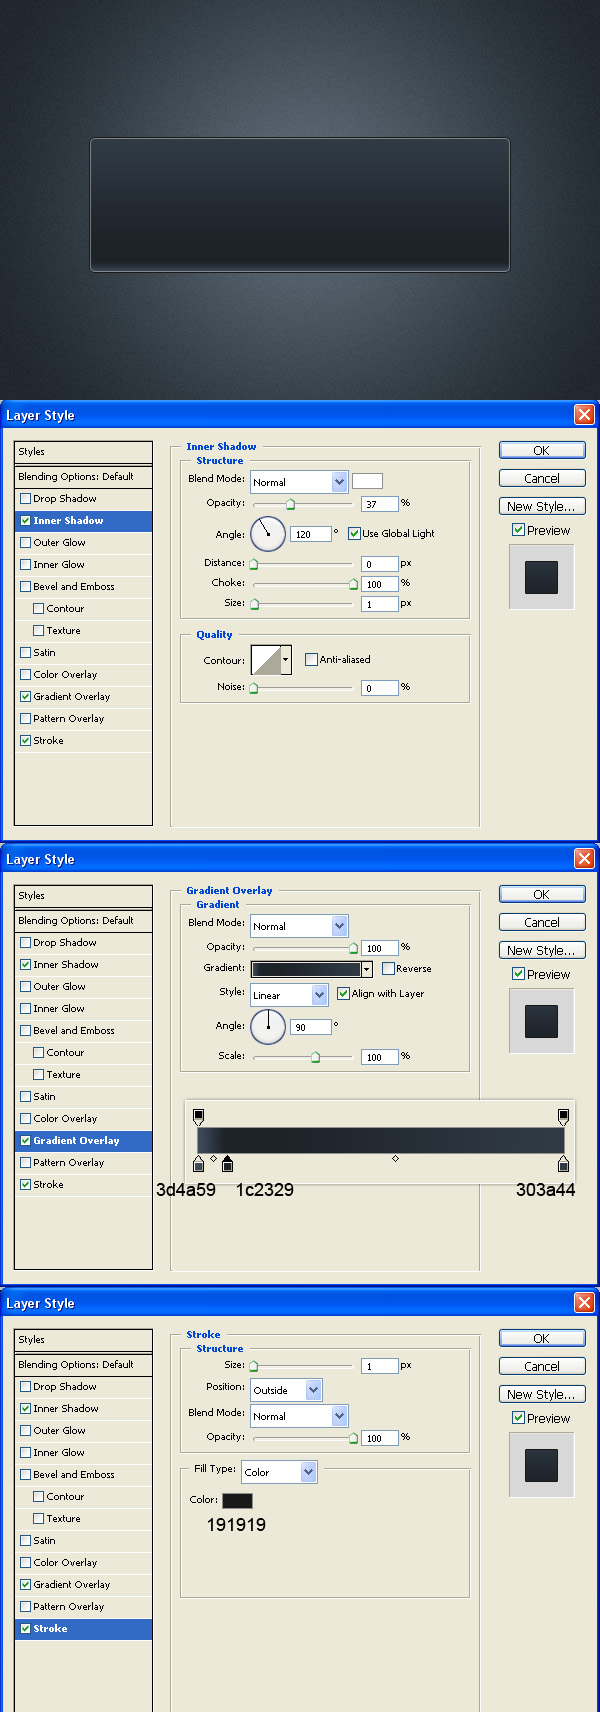
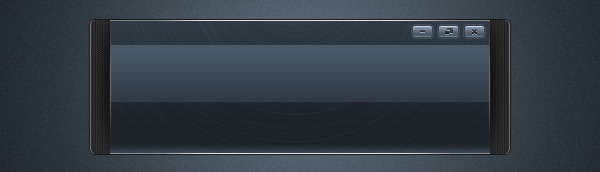
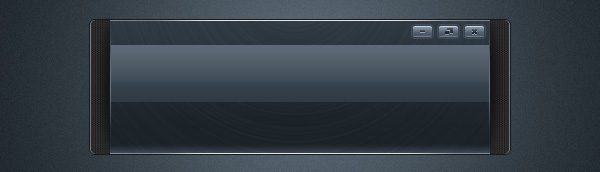
Ok, let’s make the audio player now. Create new layer (Ctrl+Shift+N) and name it “Base”. Using the Rounded Rectangle Tool, radius 5px, draw a rectangle like in the picture and use these blending options. Colors in the gradient are: #3d4a59; #1c2329; #303a44. Stroke color: #191919.
Step 5

Now create a new document, 600x600px. Go to Edit-Fill-50%Gray. Then Filter-Noise-Add Noise with these settings: 80%; Gaussian; Monochromatic. Then Filter-Blur-Radial Blur with these settings: 100; Spin; Best. Press Ctrl+F to repeat it. You should have something like this now.
Step 6
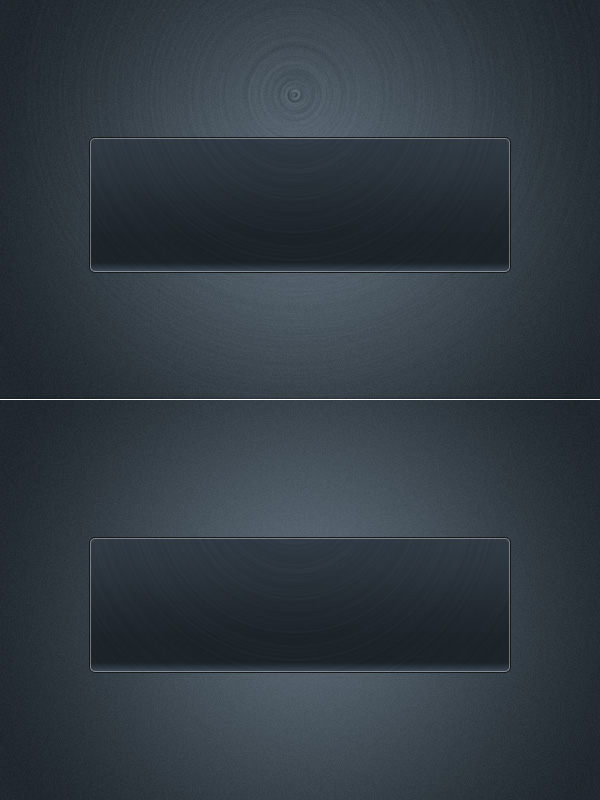
Copy the previously made image to the audio player document above the “Base” layer. Change the blending mode to Soft Light and Opacity to 80%. Let’s name this layer “Texture”. Ctrl+click on “Base” layers thumbnail to make a selesction. Then press Ctrl+Shift+I to reverse the selection. Hit delete.
Step 7
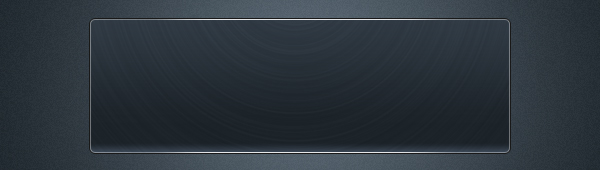
Create new layer. Name it “Higlights”. Using Pencil tool draw two lines – one at the top of the base and one at the bottom. Erase the sides of the lines with a large soft brush and lower the opacity to 80%. To keep things more organised, select the previous three layers – Base, Texture and Highlights – and press Ctrl+G to gropu these layers. Name the group “Base”.
Step 8
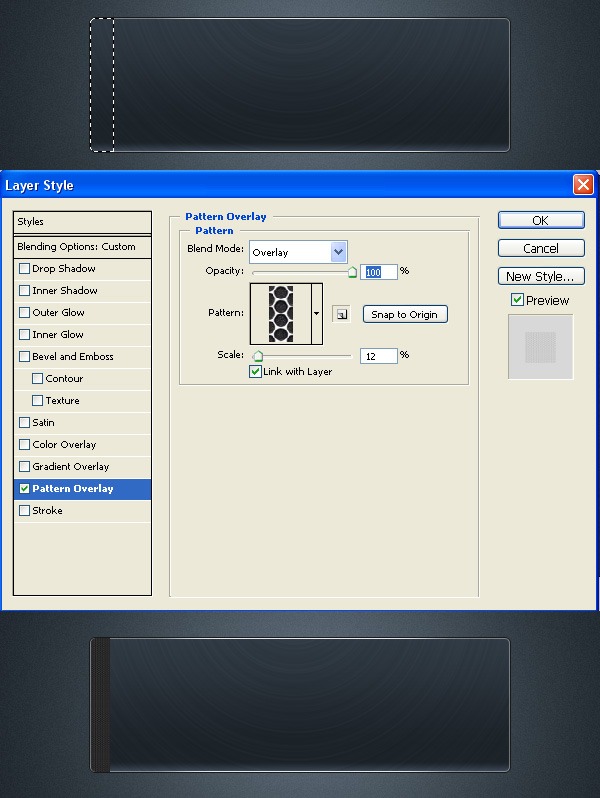
Now let’s make the speakers on both sides. Create new layer in Photoshop. Name it “speaker”. Ctrl click on the “Base” layer’s thumbnail to make a selection. Then take Rectangular marquee tool and while holding Shift+Alt drag across to get a selection like in the picture. Fill it with #3a3a3a. Dublicate the layer, name it “texture”. Go to blending options and add these settings: Pattern Overlay with the attached “Spiderman pattern”, Blend mode – Overlay and Scale 12%.
Step 9
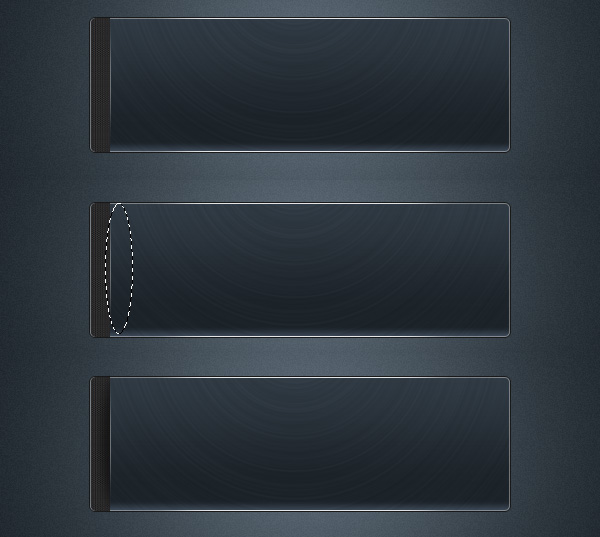
Create a new layer, name it “Highlight”. Again using the Pencil tool draw a 1px highlight like in picture. Then create a new layer and name it “Shadow”. Using Elliptical marquee tool draw a selection like in picture, fill it with black and go to Filter-Blur-Gaussian Blur, Radius 5. Erase all the unnecessery parts to get result like in picture and lower the Opacity to 50%.
Step 10
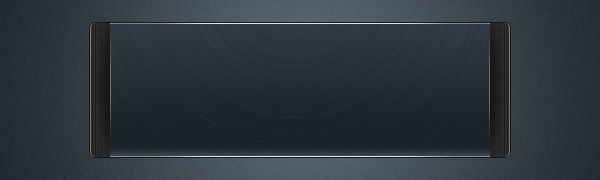
Group the previous four layers – Speaker, Texture, Highlight and Shadow and name the group Speaker_left. Duplicate the group, flip it horizontally and place on the right side. Name it “Speaker_Right”.
Step 11
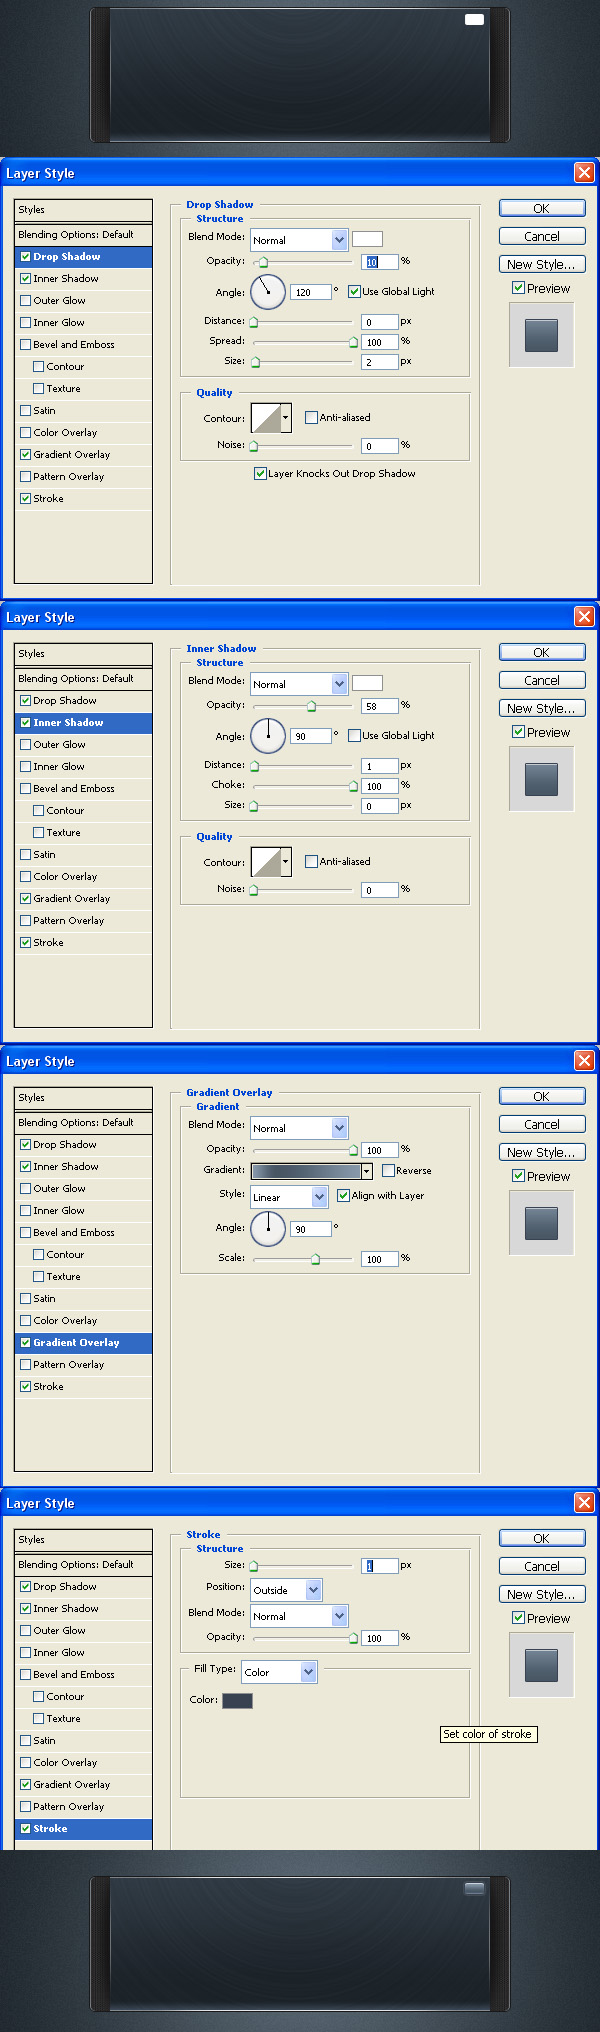
Let’s make the Close, Minimize and Maximize buttons. Create new layer, name it “Button”. Using Rounded Rectangle tool, Radius 2px, draw a small button, fill it with white. Then add these Blending options. The gradient colors are #8799ab-#485664-#8799ab. Stroke color is #384251.
Step 12
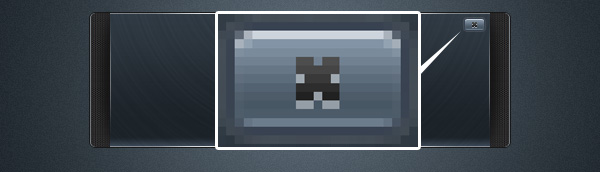
Create a new layer, name it “X”. To get the X, you can either use a font you like or draw it with pencil tool like i did. I used a Gradient overlay (Dark grey-Lighter gray) and 1px drop shadow to get this effect.
Step 13
Group the previous 2 layers and name the group “X”. Then make the other 2 buttons by dublicating the “X” group and just changing the “X” layer. Again I used Pencil tool to draw the symbols.
Step 14
Now let’s make the screen. Create new layer, name it “Screen Base”. Draw a rectangle like in the picture and fill it with gradient from #303a44 to #4a5968.
Step 15
Create a new layer. Name it “Gloss”. Draw a smaller rectangle and fill it with White to Transparent gradient. Lower the Opacity to 10%.
Step 16
Again using 1px white Pencil tool draw some highlights around. Just play with it to get results you like.
Step 17
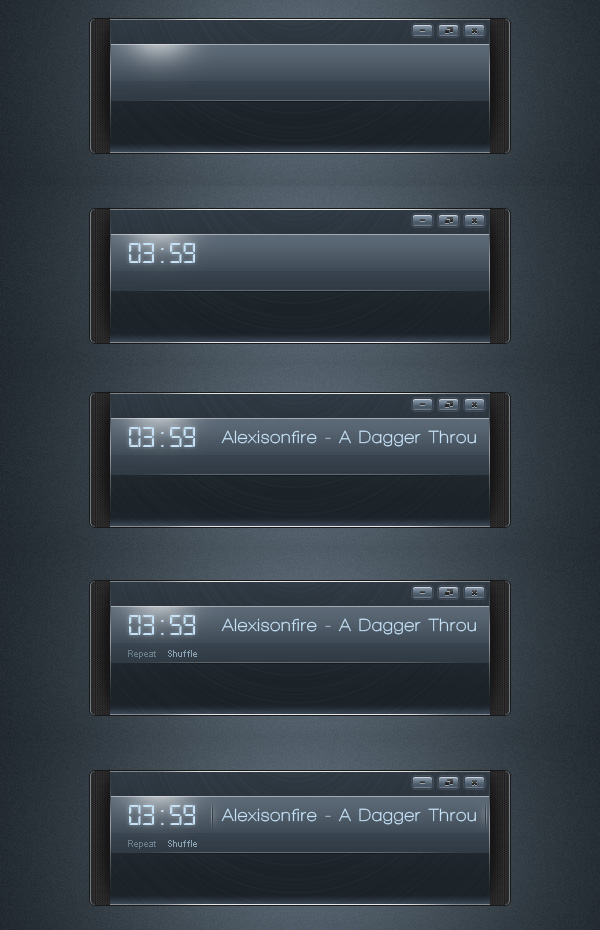
Let’s fill the screen with some content. Make a new group and Name it “Content”. I’ll try to keep this part short and understandable. For each thing make a new layer. First, using a soft round brush add a highlight where the timer will be. Then, using a digital-looking font (I used a font called Digital-7, you can get it in DaFont) type in the 03:59 or any other numbers.
Then type in the name of the track (I used font Walkway Bold). The, using Arial, type in Repeat and Shuffle. The Shuffle mode is on, so make it a bit lighter than Repeat. Then I added some small details using the techniques described before – 1px Pencil tool lines and some Round soft brush for light effects.
Step 18
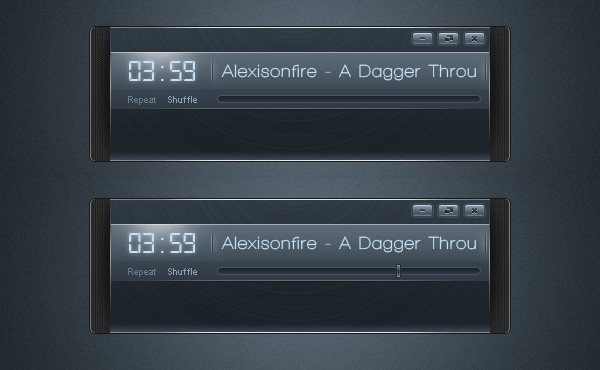
Create a new layer. Name it “Progress bar”. Using Rounded Rectangle tool, radius 5px, draw a thin, long rectangle. Fill it with black and add these blending options: Gradient Overlay from #303a44 to #1c2329 and 1px Stroke, color #afbbc6, Opacity 16%. Now create a new layer and name it “Progress knob”. Draw a small rectangle and fill it with black. Use these Blending options – Inner shadow: Blend mode- Normal, Color – White, Distance 0, Size 1; Gradien Overlay: #5c6977-#212a30-#5c6977; Stroke: Size 1px, Color #222b31.
Step 19
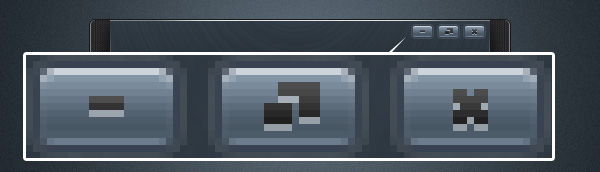
Now there’s gonna be a lot of buttons to make. So make a new group and name it “Buttons”. First we’ll make the base for the Play, Stop and other buttons. Create new layer, name it “Button Base”. To get the shape I used a 5px Radius Rounded Rectangle tool and then drew the sides with pencil tool. If you want, you can make it simply as a rounded rectangle shape.
Then add these Blending Options – Drop Shadow: Angle – -90 (Un-check the “Use Global Light”), Distance – 1, Size 0. Inner shadow: Blend Mode – Normal, Color – White, Angle – 90 (again don’t use the global light), Distance – 1, Size – 0. Gradient Overlay: #4d5c6a-#1c2329-#303a43.
Step 20
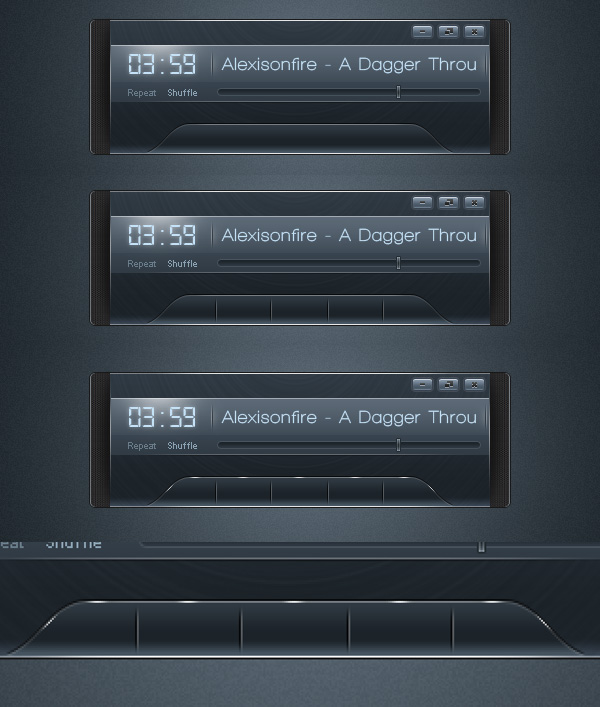
Now we’ll add a lot of small details using just 1px Pencil tool and then erasing end of the lines. Just look at the picture to get the idea. Remember that you have to play with the Opacity to get nice results.
Step 21
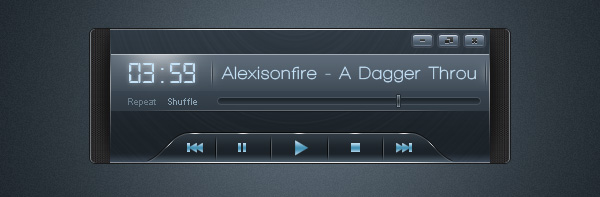
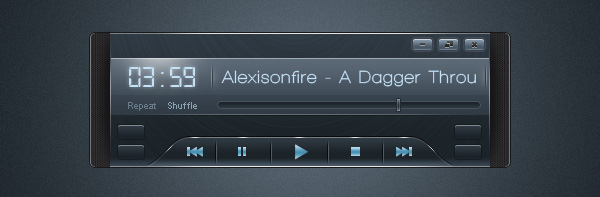
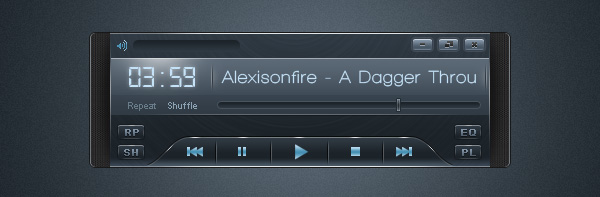
To make the Play, Pause, Stop, Forward and Backward buttons, I simply drew rectangles and triangles and combined them for the Forward and Backward buttons. Add this Gradient Overlay to the control button layers: #b7d9ed-#458fb2-#b7d9ed.
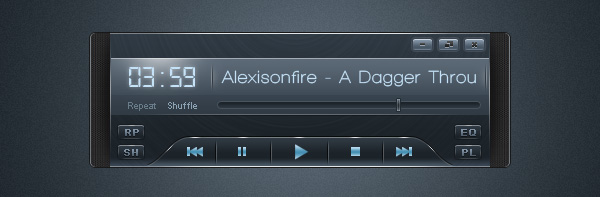
Step 22
Now let’s make the final 4 buttons – Repeat, Shuffle, Playlist and Equalizer. All of them are going to be the same – just a small rounded rectangle with these Blending Options: Drop Shadow – Opacity 26%, Spread 100%, Size 1. Inner shadow: Blend mode – Normal, Color – White, Opacity 40%, Angle – 90, Distance – 1, Choke – 100%, Size – 0. Gradient Overlay: #3d4a59-#1c2329-#303a44. Then copy these buttons and place them like in the picture.
Step 23

Now add the text. I used font Arial and these Blending Options: Drop Shadow – Opacity 42%, Angle 90, Distance 1, Size 0. Gradient Overlay: #4c5a69-#8495a7.
Step 24
Once again add some small details with the pencil tool.
Step 25
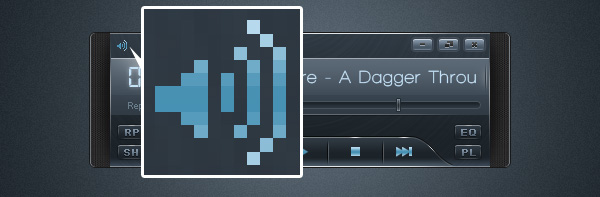
Now the last thing we’ll add to the interface is the volume control. First, draw the icon with Pencil Tool. Add the same gradient as the Playback control buttons (Play, Pause etc.).
Step 26
Using the Rounded Rectangle tool, Radius 5px, draw a rectangle and add the same gradient as the Progress Bar.
Step 27
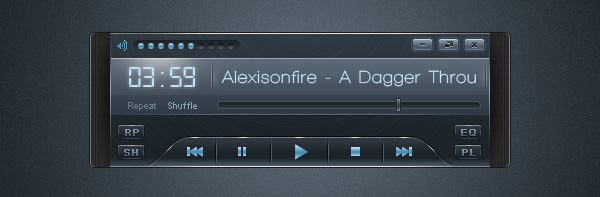
Draw 10 small circles. The active ones will have a gradient like the Volume icon and the rest of them will have a simple Light gray to Dark gray gradient.
Step 28
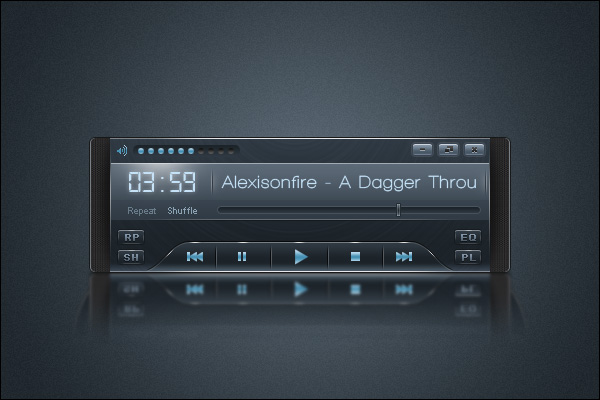
Let’s finish it and add some reflection. Merge all of the layers except the background. Duplicate it, add 1,2px Gaussian Blur, flip it Vertically and using Round soft eraser, erase the bottom.
Download the PSD
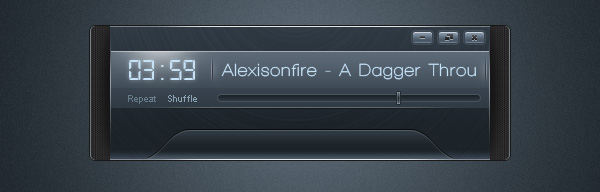
Conclusion
So here it is – your finished audio player interface. You can try to make it a real skin for the Xion player. But if a lot of people would like to see a tutorial about making this design into a working skin, then I’d be glad to make a tutorial about that too.